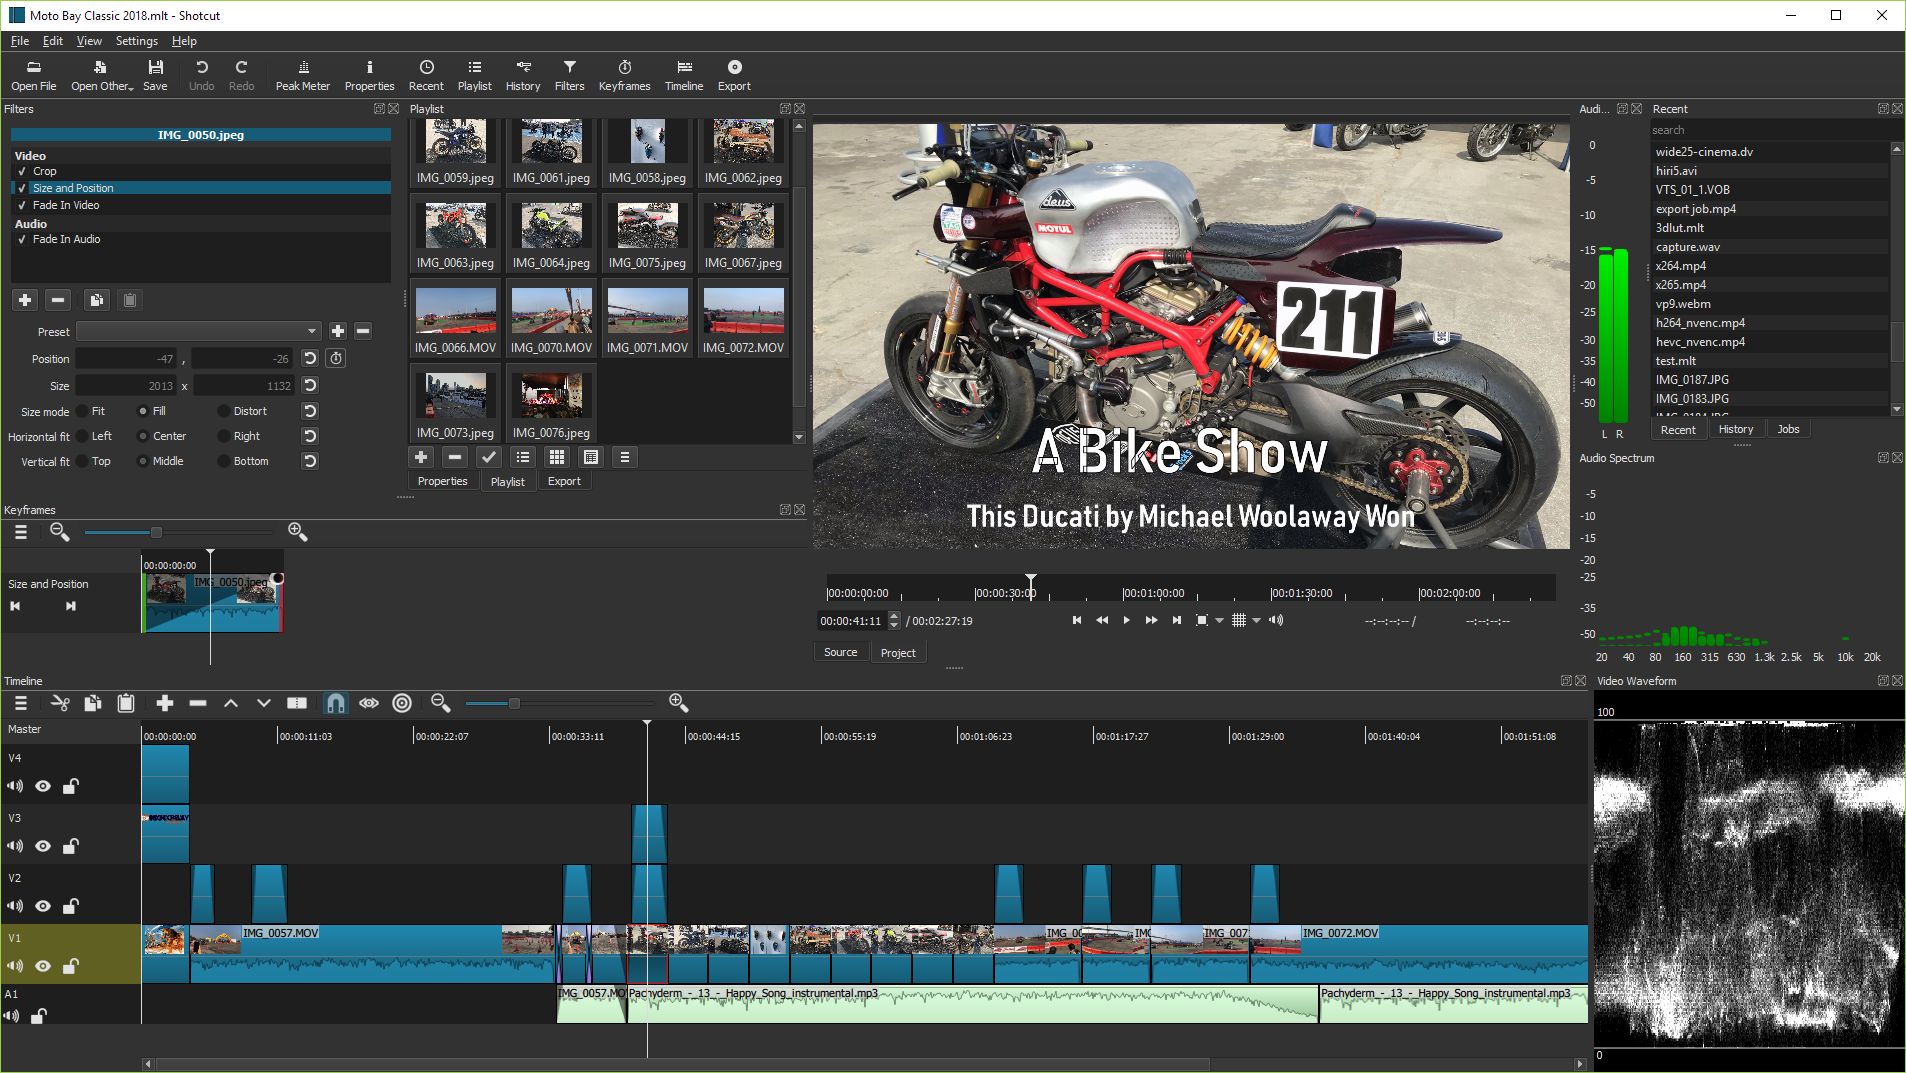
Version 16.02 is now available for download. This release is mostly just bug fixes and improvements to the integration of the clip speed option in Properties. There are a few new, minor things:
Audio waveforms on timeline are updated incrementally as progress is made.
Allow dual pass encoding for CBR.
Added Show Video Thumbnails option to the timeline menu.
Added Rebuild Audio Waveform to a timeline clip's context menu.
Version 16.01 is now available for download. We added two big new features for this release: clip speed and chroma key! Here is the full list new things:
Added Speed parameter to Properties for an audio/video clip.
Added Properties views for track and timeline when selected. Click track head to select track; click the timeline's cornerstone (top left block) to select the timeline.
Added Blend mode to track properties (not available in GPU processing mode; only applies when compositing is enabled in the track header).
Added Alpha Channel: View video filter.
Added Alpha Channel: Adjust video filter.
Added Chroma Key: Simple video filter.
Added Chroma Key: Advanced video filter.
Added Key Spill: Simple video filter.
Added Key Spill: Advanced video filter.
All of the new video filters are intended to facilitate chroma keying; however, the Alpha Channel filters do have some general usefulness outside of keying. Please note that "Alpha Channel: View" is not really intended to be an effect that gets baked into your rendered and encoded output. You can leave it in the filter list, but toggle the filter by clicking the checkbox or double-clicking its name in the list of attached filters to turn it off. "Key Spill" is also know as "color spill" and "spill suppression," and it refers to the background color bleeding into the foreground. None of these new video filters can utilize GPU-processing at this time; however, they do support multi-core rendering when Settings > Realtime is turned off or when exporting. You can use them in conjunction with GPU processsing; they just will not take advantage of the speed and quality the GPU mode provides.
Regarding speed control, it is a simple frame-drop/-duplicate approach. It does not attempt to do any frame-blending or advanced optical flow analysis. Now, with that said, you can get nice results slowing down high frame-rate footage. However, you must ensure that your project is running at a typical 24 - 60 fps because Settings > Video Mode > Automatic may otherwise adopt the clip's frame rate. (In automatic mode, the project is based on the first item you add to the playlist or timeline or on the opened clip if playlist or timeline is not used.)
Shortly after the first release of 15.11 for Windows we discovered two new major problems that were fixed for a new 15.11.03 version, available now for download. The problems were a failure to launch due to a missing DLL in the installer, and encode jobs stuck in a pending state and not completing.
You open files by drag-n-drop in addition to the usual menu and toolbar methods.
MLT XML files can be opened as a clip; so, you can use Shotcut to test your XML.
Tap J, K, L to control playback speed and direction. Tap J or L repeatedly to go faster.
Tap I or O to set the in and out points.
Press left or right cursor keys to step frame-by-frame.
Press page up or down to step one second at-a-time.
Press alt+left or alt+right to jump between start, in, out, and end.
Version is based on date. You can choose to update whenever you like and keep multiple versions (new versions are available monthly).
Also, see our Video Tutorials and full Keyboard Shortcut Reference.
This program is distributed in the hope that it will be useful,
but WITHOUT ANY WARRANTY; without even the implied warranty of
MERCHANTABILITY or FITNESS FOR A PARTICULAR PURPOSE.